Setting up Godot 4.3 for Visual Studio Code
NOTE: These articles are written using Windows
Requirements:
- Godot 4.3 (https://godotengine.org)
- Visual Studio Code (VSC) (https://code.visualstudio.com)
- VSC Extension godot-tools
- In VSC go to Extensions (ctrl+shift+x), and search and install godot-tools
Suggested Requirments:
- VSC Extension C/C++
- In VSC go to Extensions (ctrl+shift+x), and search and install C/C++
Make your project:
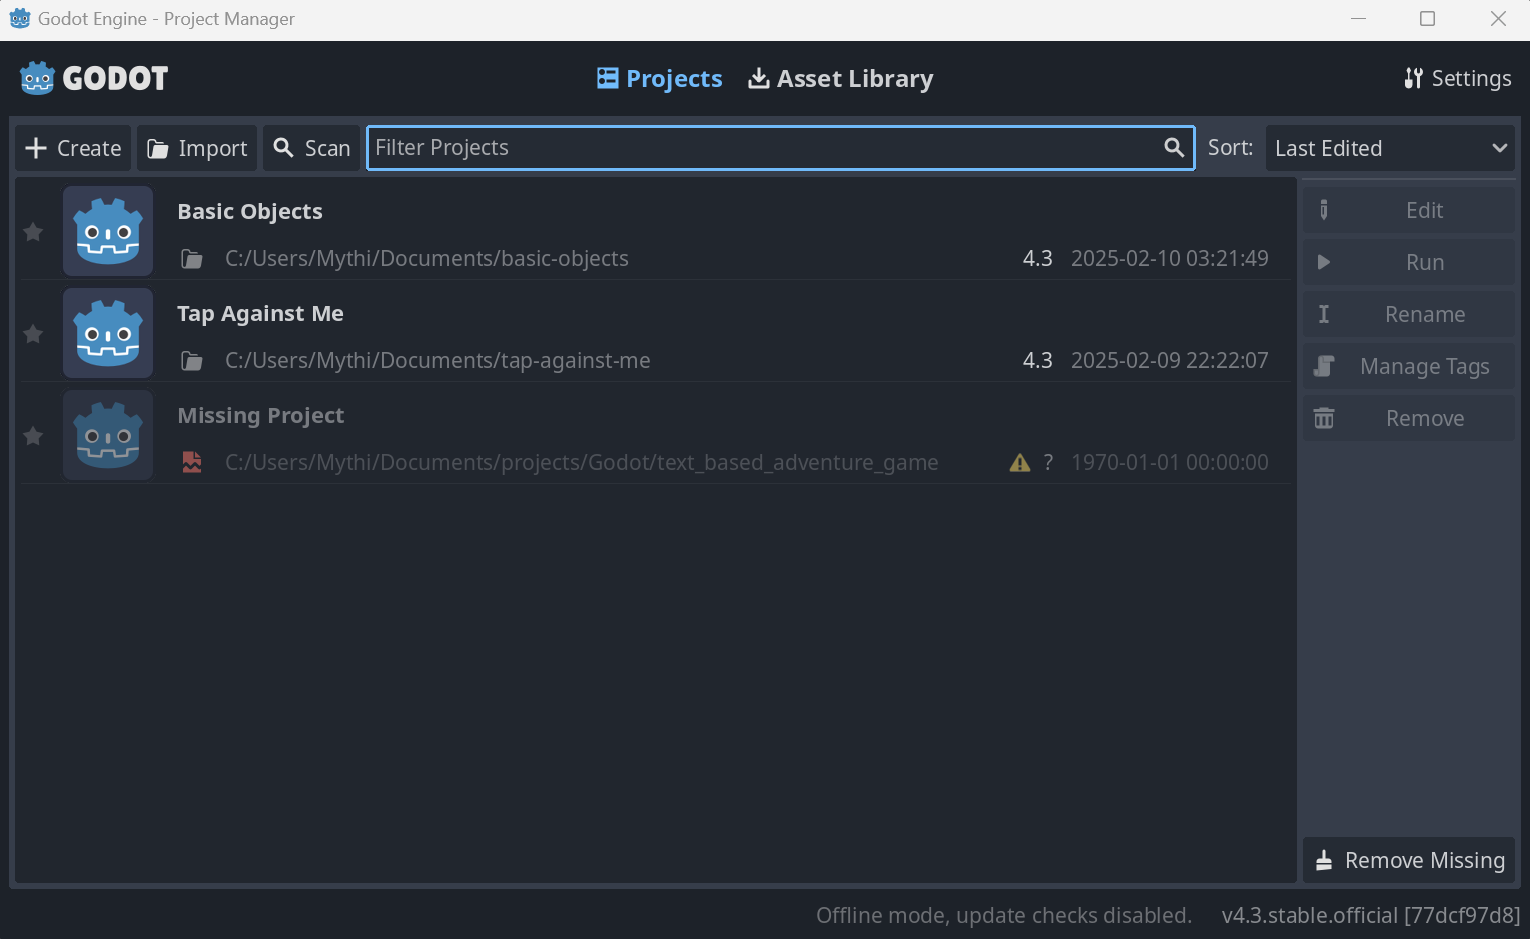
Launch the Godot_v4.3-stable_win64.exe and this will bring up the below window. If this is your first time launching the Godot Engine - Project Manager, your project list will likely be empty.
To create a project click + Create and this will bring up the below. Here, we will name our project Basic Objects in this case.
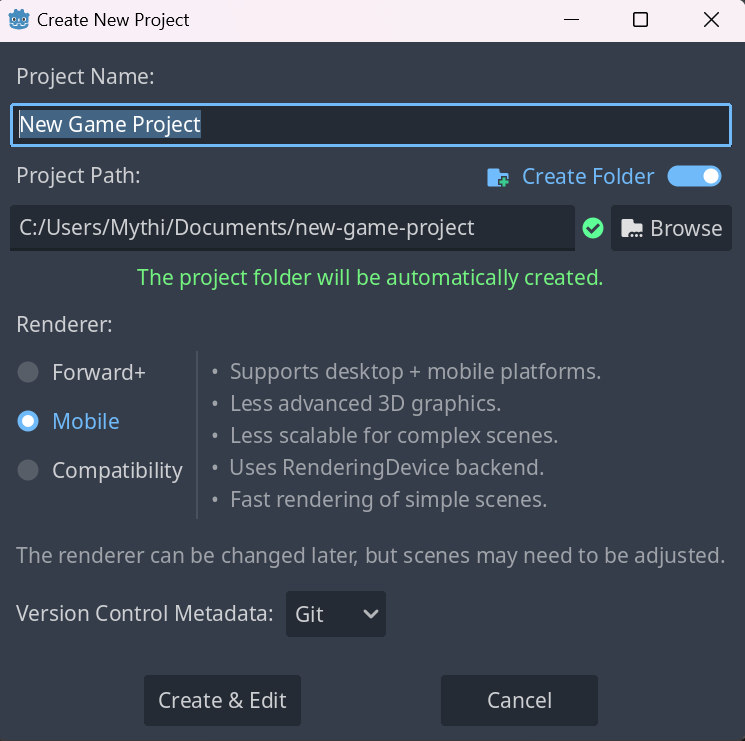
Above, you likely noticed three renderers, and that we have Mobile opted for. If you are interested in learning about the differences, please read the below, otherwise Create & Edit, and it will build the project and launch Godot, and skip to Import your Project
Renderer information
1. Forward+ Renderer:
This method employs a clustered approach to lighting, where a compute shader organizes lights into a 3D grid aligned with the camera’s frustum. During rendering, each pixel references this grid to determine which lights influence it, optimizing lighting calculations. This technique enhances performance on desktop hardware but may be less efficient on mobile devices.
2. Forward Mobile Renderer:
Tailored for mobile platforms, this renderer utilizes a traditional single-pass lighting approach. It’s optimized for mobile GPUs, which differ from desktop GPUs in terms of battery usage, heat management, and bandwidth limitations. Notably, mobile GPUs often lack support for compute shaders. The Forward Mobile renderer avoids using high-bandwidth texture formats and leverages sub-passes to minimize memory read/write operations, enhancing performance on mobile devices. However, it doesn’t support advanced features like SDFGI and volumetric fog.
3. Compatibility Renderer:
Designed for older GPUs without Vulkan support, this renderer employs a traditional forward rendering approach. It uses a single-pass method for lights without shadows and a multi-pass method for lights with shadows. The Compatibility renderer utilizes a lower-bandwidth texture format and stores colors in sRGB format, which limits HDR capabilities but reduces bandwidth usage. Due to its focus on older hardware, it lacks support for high-end rendering features and most post-processing effects.
Importing project:
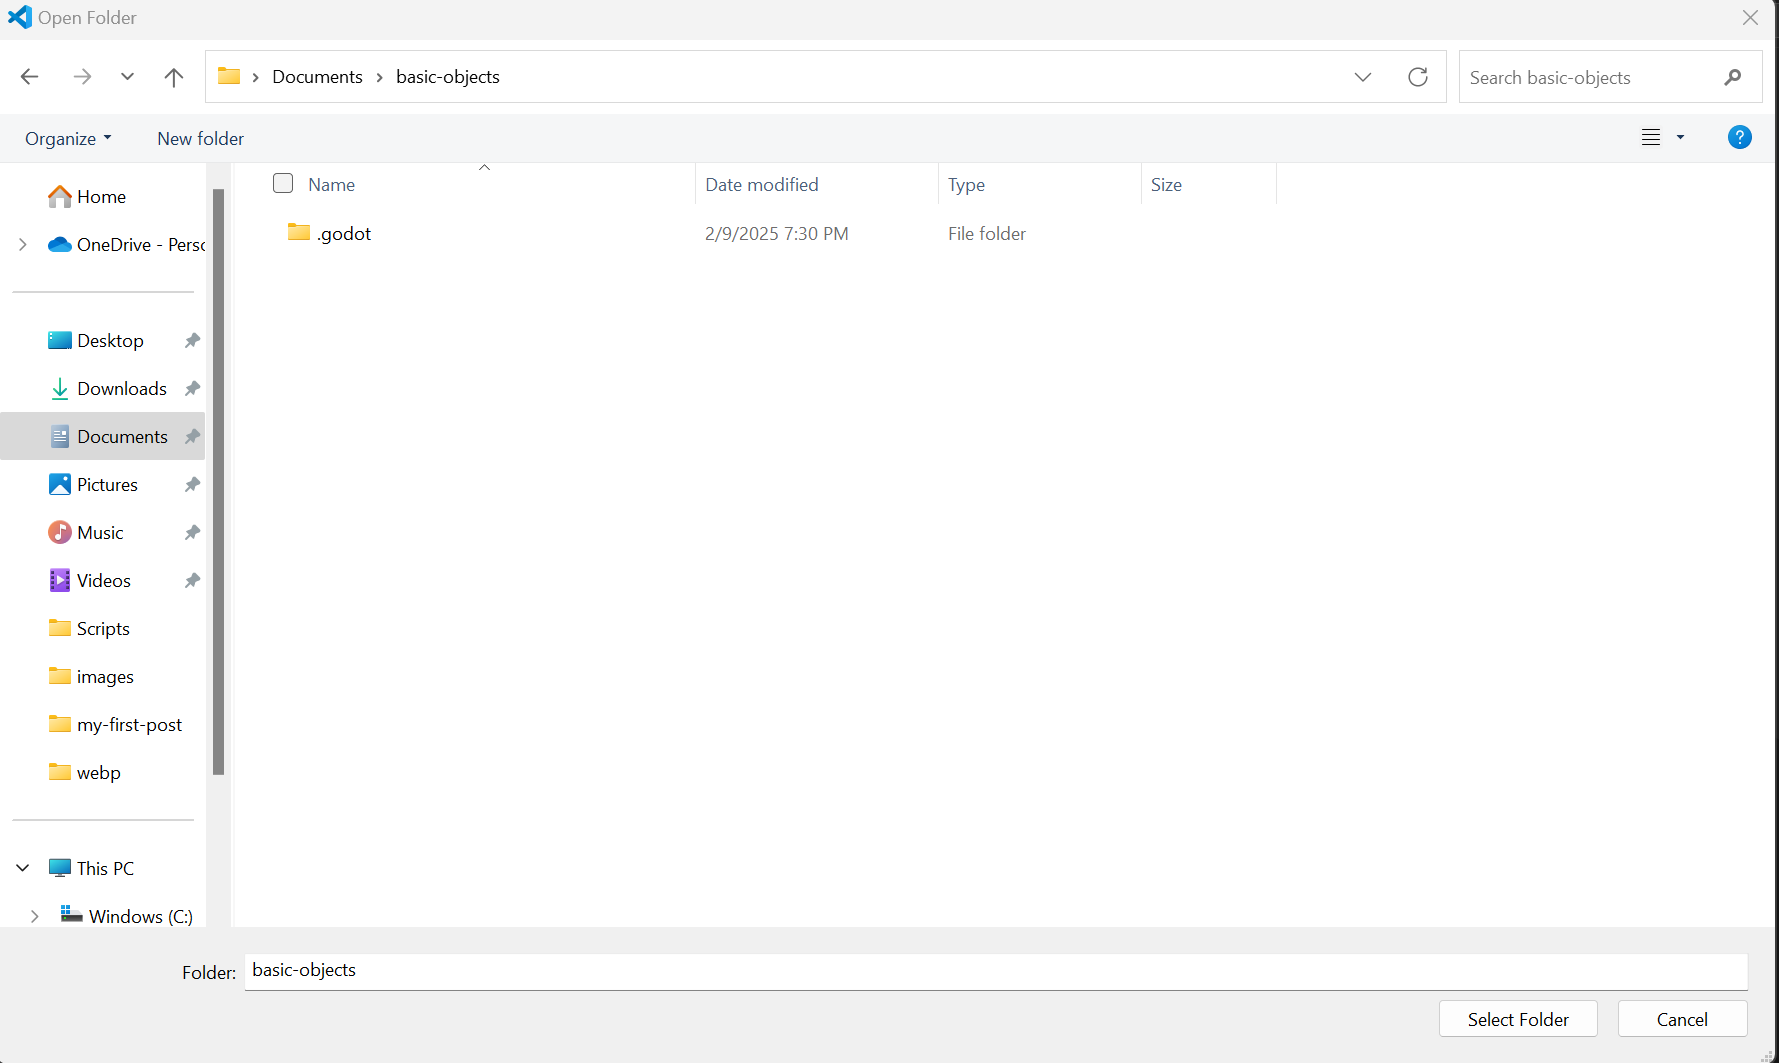
In VSC, we can import the project by going to File > Open Folder, and opening the project directory that was just created. For myself this is in C:/users/user/Documents/basic-objects
From the Godot Visual Studio Code Docs
Press Ctrl + Shift + P to open the command prompt window and enter Configure Task .

Select the Create tasks.json file from template option.

Then select Others .

This should by default open the tasks.json after creation, if it did not, you can find the file in the VSC Explorer on the left in the .vscode folder. Open this, and then within the tasks.json file find the "tasks" array and add a new section to it changing from
{
	// See https://go.microsoft.com/fwlink/?LinkId=733558
	// for the documentation about the tasks.json format
	"version": "2.0.0",
	"tasks": [
		{
			"label": "echo",
			"type": "shell",
			"command": "echo Hello"
		}
	]
}
to
{
	// See https://go.microsoft.com/fwlink/?LinkId=733558
	// for the documentation about the tasks.json format
	"version": "2.0.0",
	"tasks": [
		{
			"label": "build",
			"group": "build",
			"type": "shell",
			"command": "scons",
			"args": [
			  // enable for debugging with breakpoints
			  "dev_build=yes",
			],
			"problemMatcher": "$msCompile"
		  }
	]
}
Setting up Debugging for your project
We need to create a new configuration in the launch.json file, press ctrl+shift+d and this will open the Run and Debug Panel. if launch.json is missing, you will be prompted to create a new one
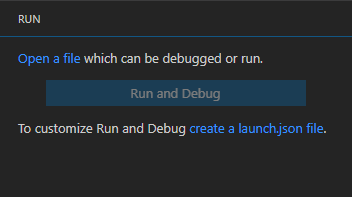
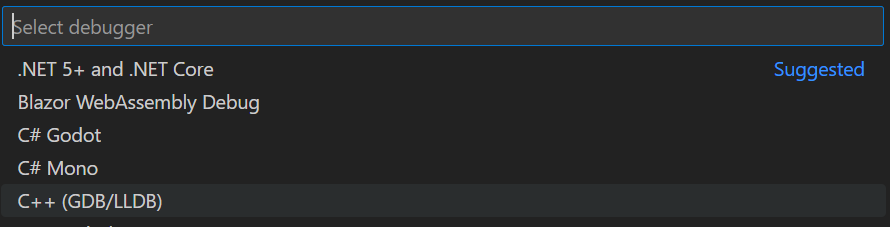
Click the blue text that says create a launch.json file, and then select from the below C++ (GBD/LLDB)
this will make a launch.json, which you will want to replace with the below
{
    "version": "0.2.0",
    "configurations": [
      {
        "name": "Run Current Scene",
        "type": "godot",
        "request": "launch",
        "project": "${workspaceFolder}",
        "scene": "res://Scenes/main.tscn"
      },
      {
        "name": "Run Project",
        "type": "godot",
        "request": "launch",
        "project": "${workspaceFolder}"  // Runs the entire project
      }
    ]
  }
Next, you may have been getting prompted that it can’t find the executable for Godot, let’s fix this. Right click the .vscode folder in the Explorer and add a file settings.json and add the below line of code, making sure to change the directory to match your location of your exe
{
“godotTools.editorPath.godot4”: “c:\Users\Mythi\Desktop\Godot_v4.3\Godot_v4.3-stable_win64.exe”
}
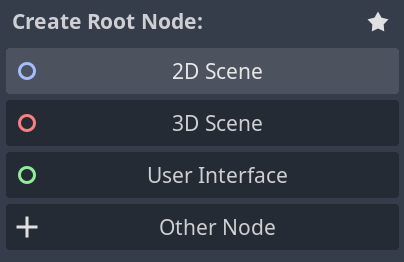
Setting up your Scene
This will be quick, and one of the few times that we need to work inside the Godot Editor. Go to the Godot application you already have open, and in this case we are going to work with 2D Scenes to start. Where it says Create Root Node select 2D Scene
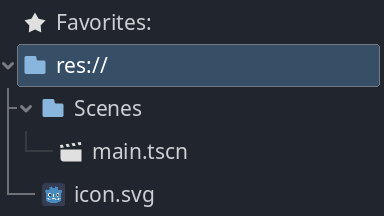
then do ctrl+s and save this in a folder called Scenes and name is main. These are not requirements, but suggestions. With this your project should look similar to the below
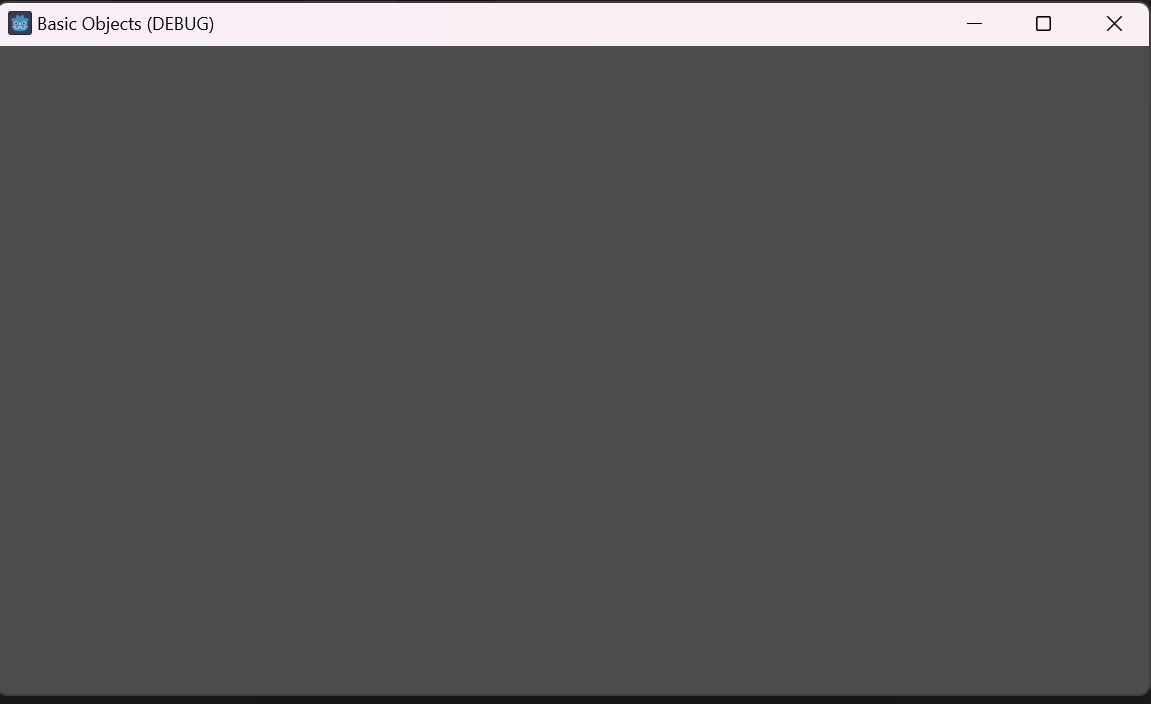
Testing Your project
Press F5 to begin debugging and this should launch the below window